部分主题如 Volantis 对 node 有版本要求,而 Web 应用托管无法指定 node 的版本,且直接推送 public 文件部署还会因为网络问题导致无法及时触发,本文讲解如何通过 GitHub Actions 解决该问题。
准备工作
首先登录良心云 CloudBase,获取 Web 应用托管对应环境 ID,记录一下等会要用:

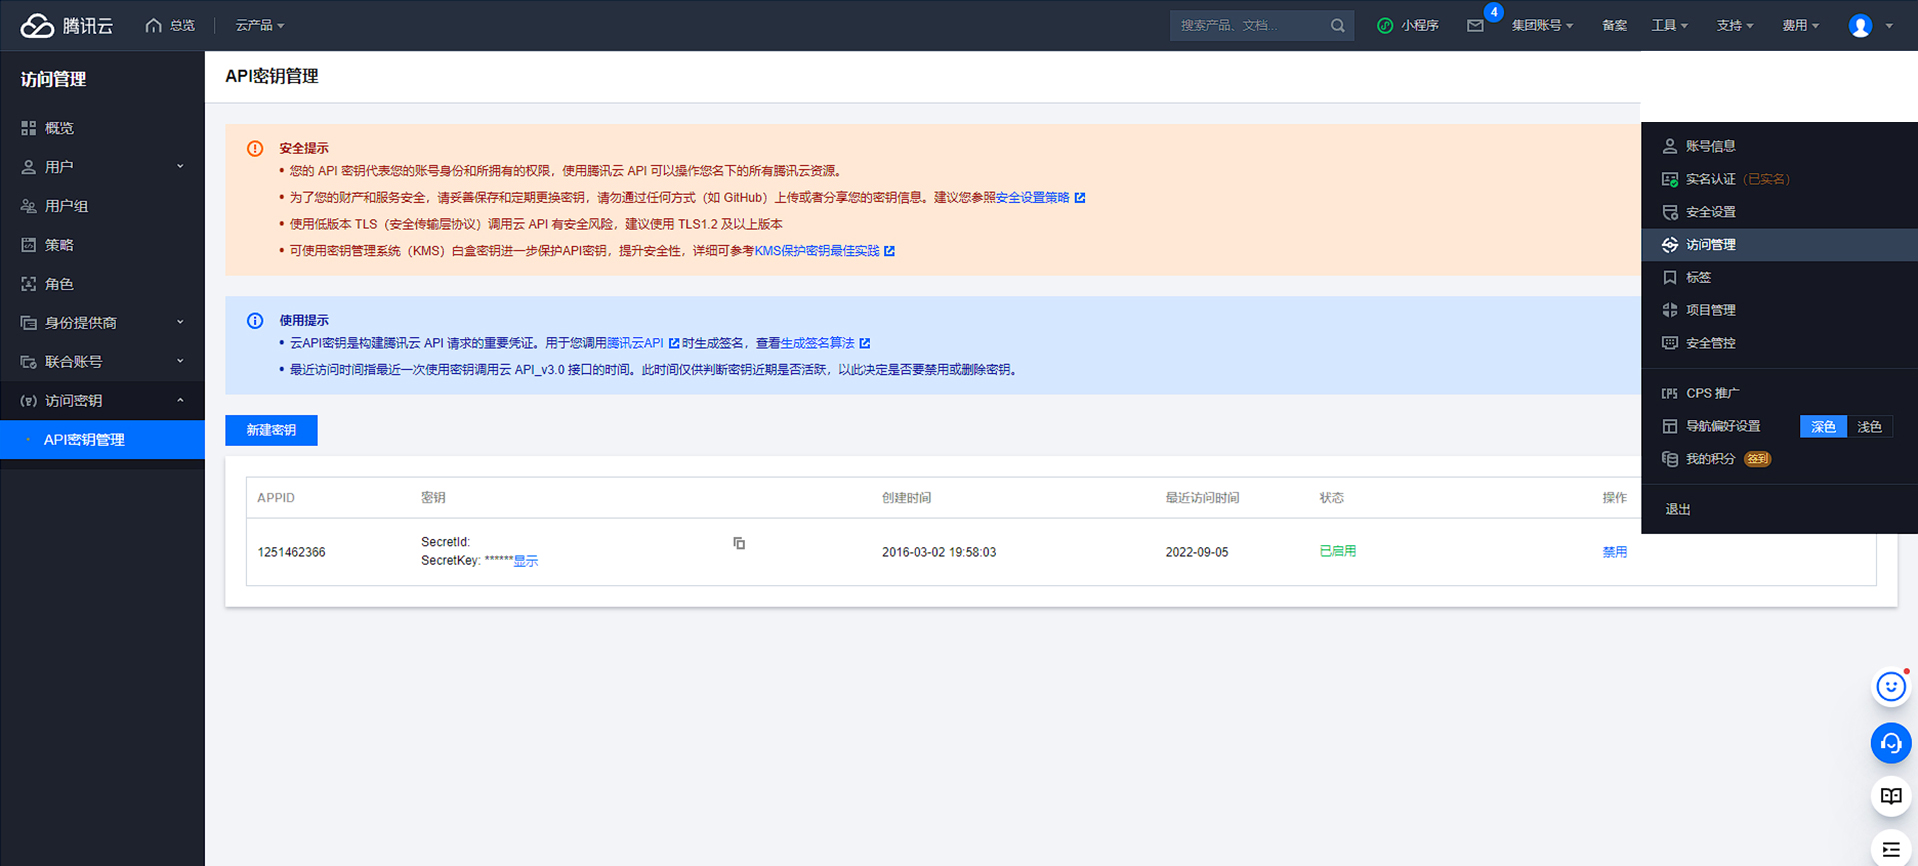
进入访问管理——访问密钥,进入到 API 密钥管理,获取 SecretId 以及 SecretKey:
登录 GitHub 并进入博客的源码库,切换到 Settings-Secrets-Actions,分别添加红框变量,如 ENVID/SECRETID/SECRETKEY:

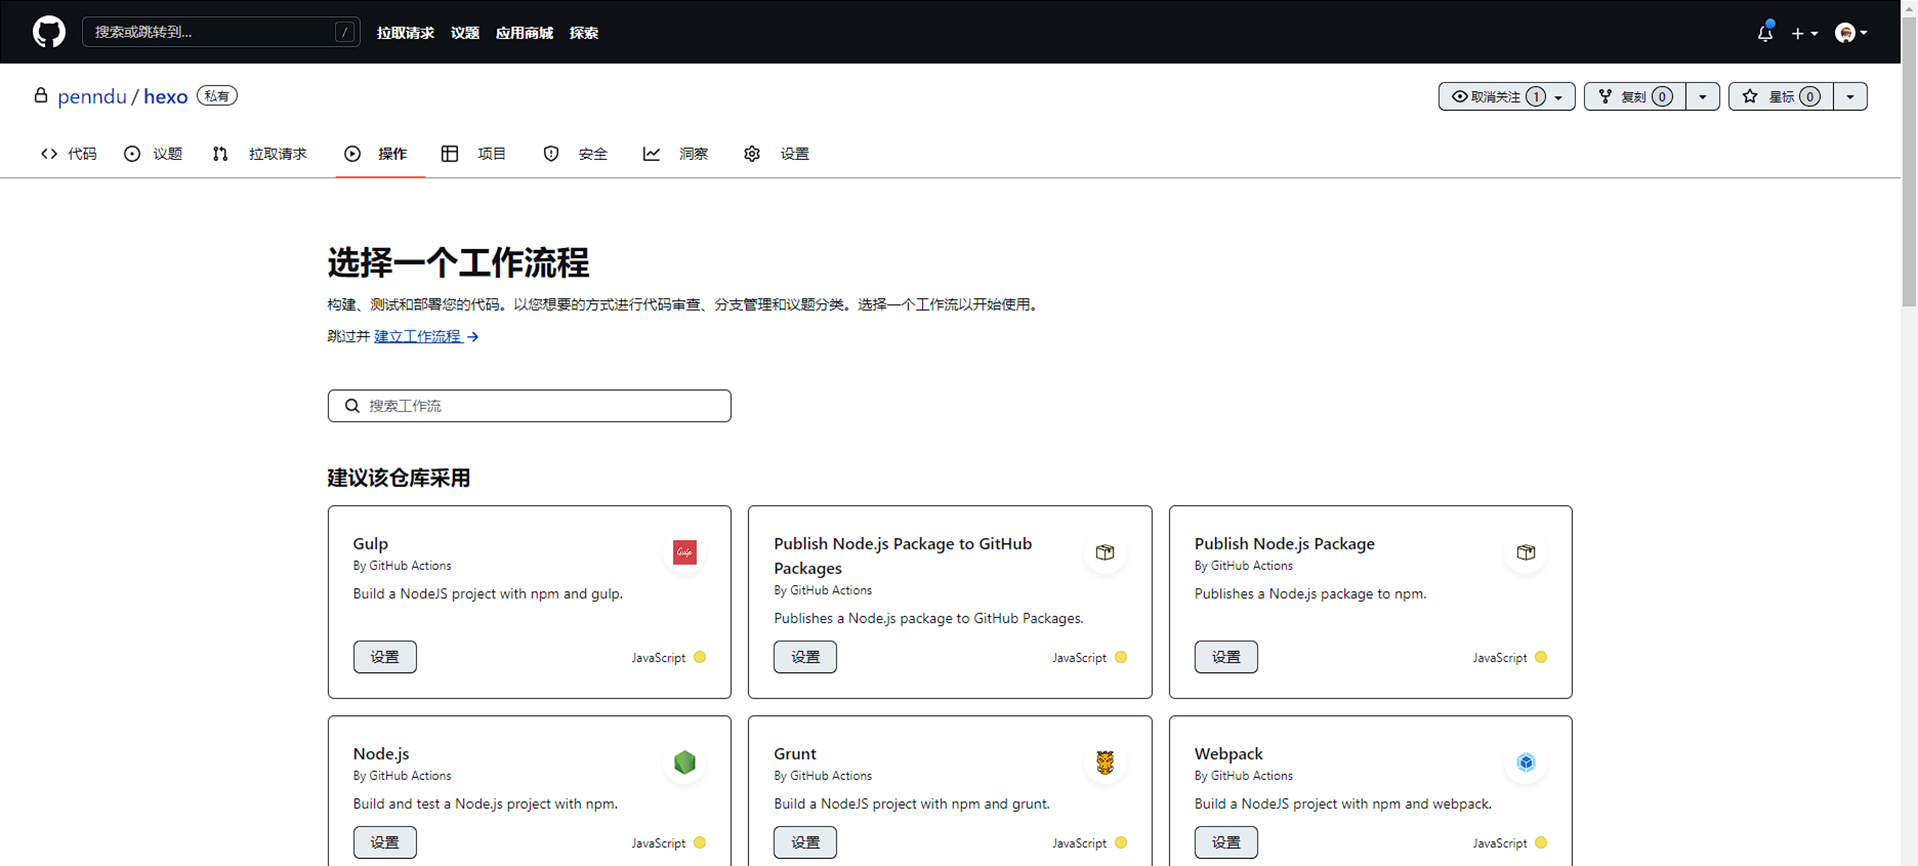
最后切换到 Actions-New workflow-set up a workflow yourself:
数据走向
1 | name: CI |
注意:以上为杜老师所用代码,替换原有内容,或根据现有内容做修改即可。
文件限制
1 | { |
注意:TencentCloudBase/cloudbase-action@v1 传输的文件不能超过一千,所以这里选择了 TencentCloudBase/cloudbase-action@v2.0.1,该版本执行需要在博客源码根目录中创建文件 cloudbaserc.json 并加入上面代码。
写在最后
以上方法适用于将博客所有源码托管至 GitHub 上,如只托管 public 目录内文件则需修改配置;
如 public 目录内的文件不超过 1000,可选择使用
TencentCloudBase/cloudbase-action@v1,该版本不需要在博客源码根目录中创建文件cloudbaserc.json;默认强制全量推送策略,会删除 CloudBase 中原有的文件,使用该教程前请先做好数据备份;
偶尔会出现推送失败的提示,但实际测试已完成推送,无视即可。